Getting started with Map v3
Creating a simple application with Deep Map™ is simpler than you might think. To begin, you will need the following files:
hdm-mapcore-lib-release.aar - the main library for the Deep Map™ 3.0 SDK
DeepMap.zip - contains the map file, styling, routing-database, textures and more
You can find the above files inside the SDK packages in the Download section. Mind that this section of our website is password protected - please contact us to get your credentials!
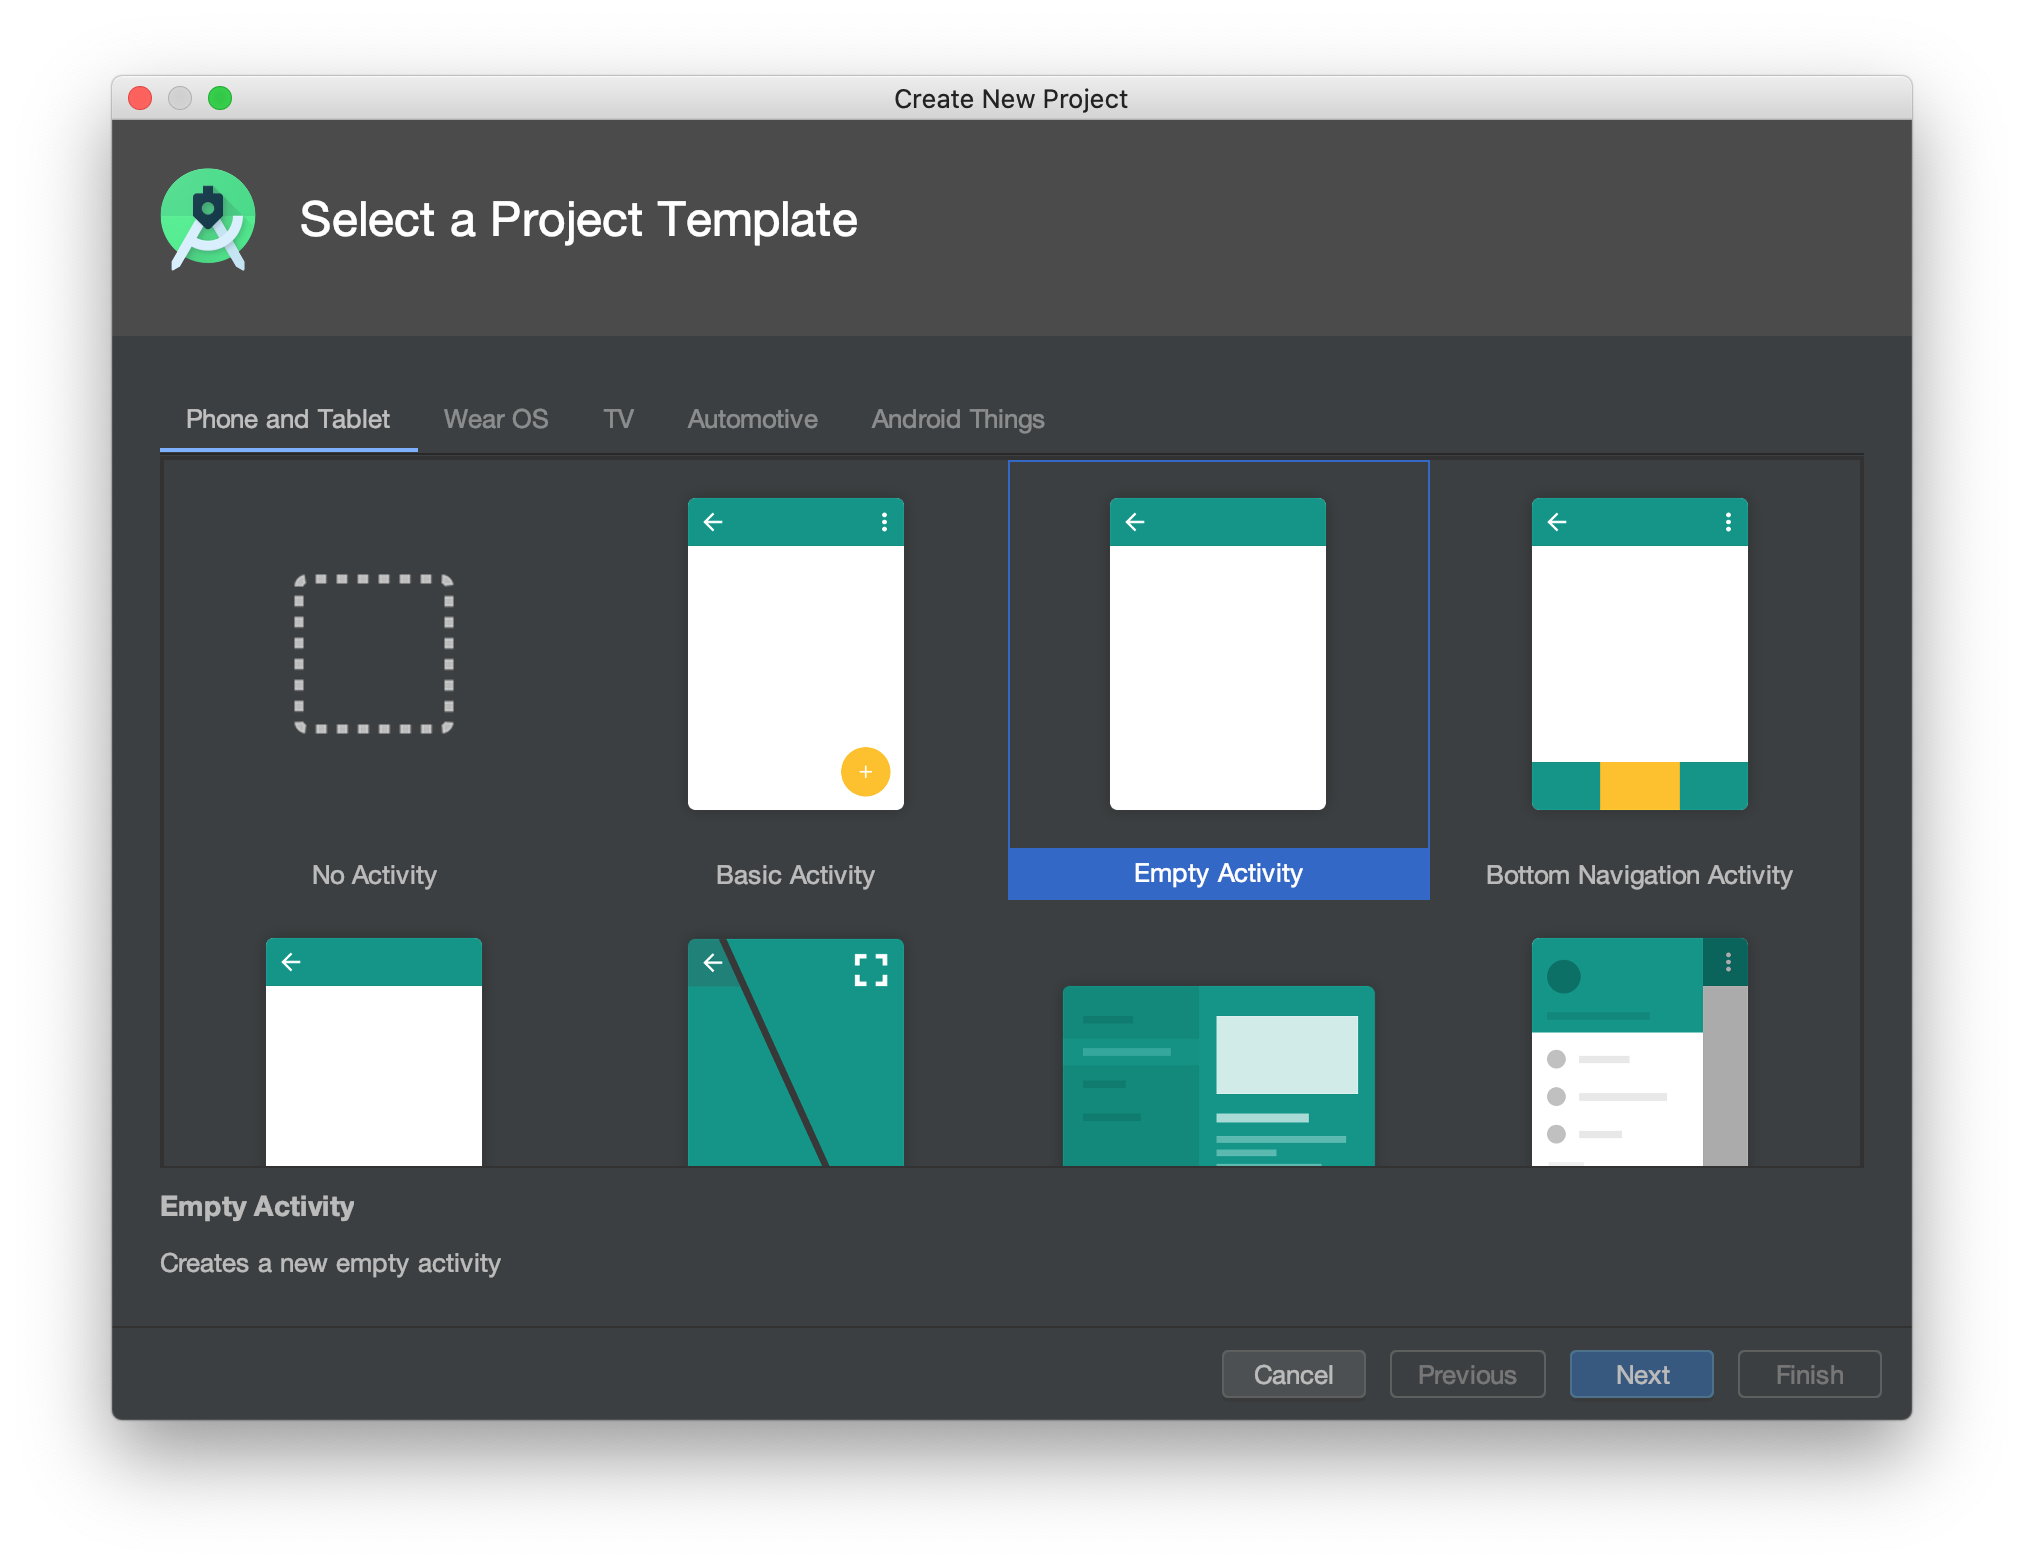
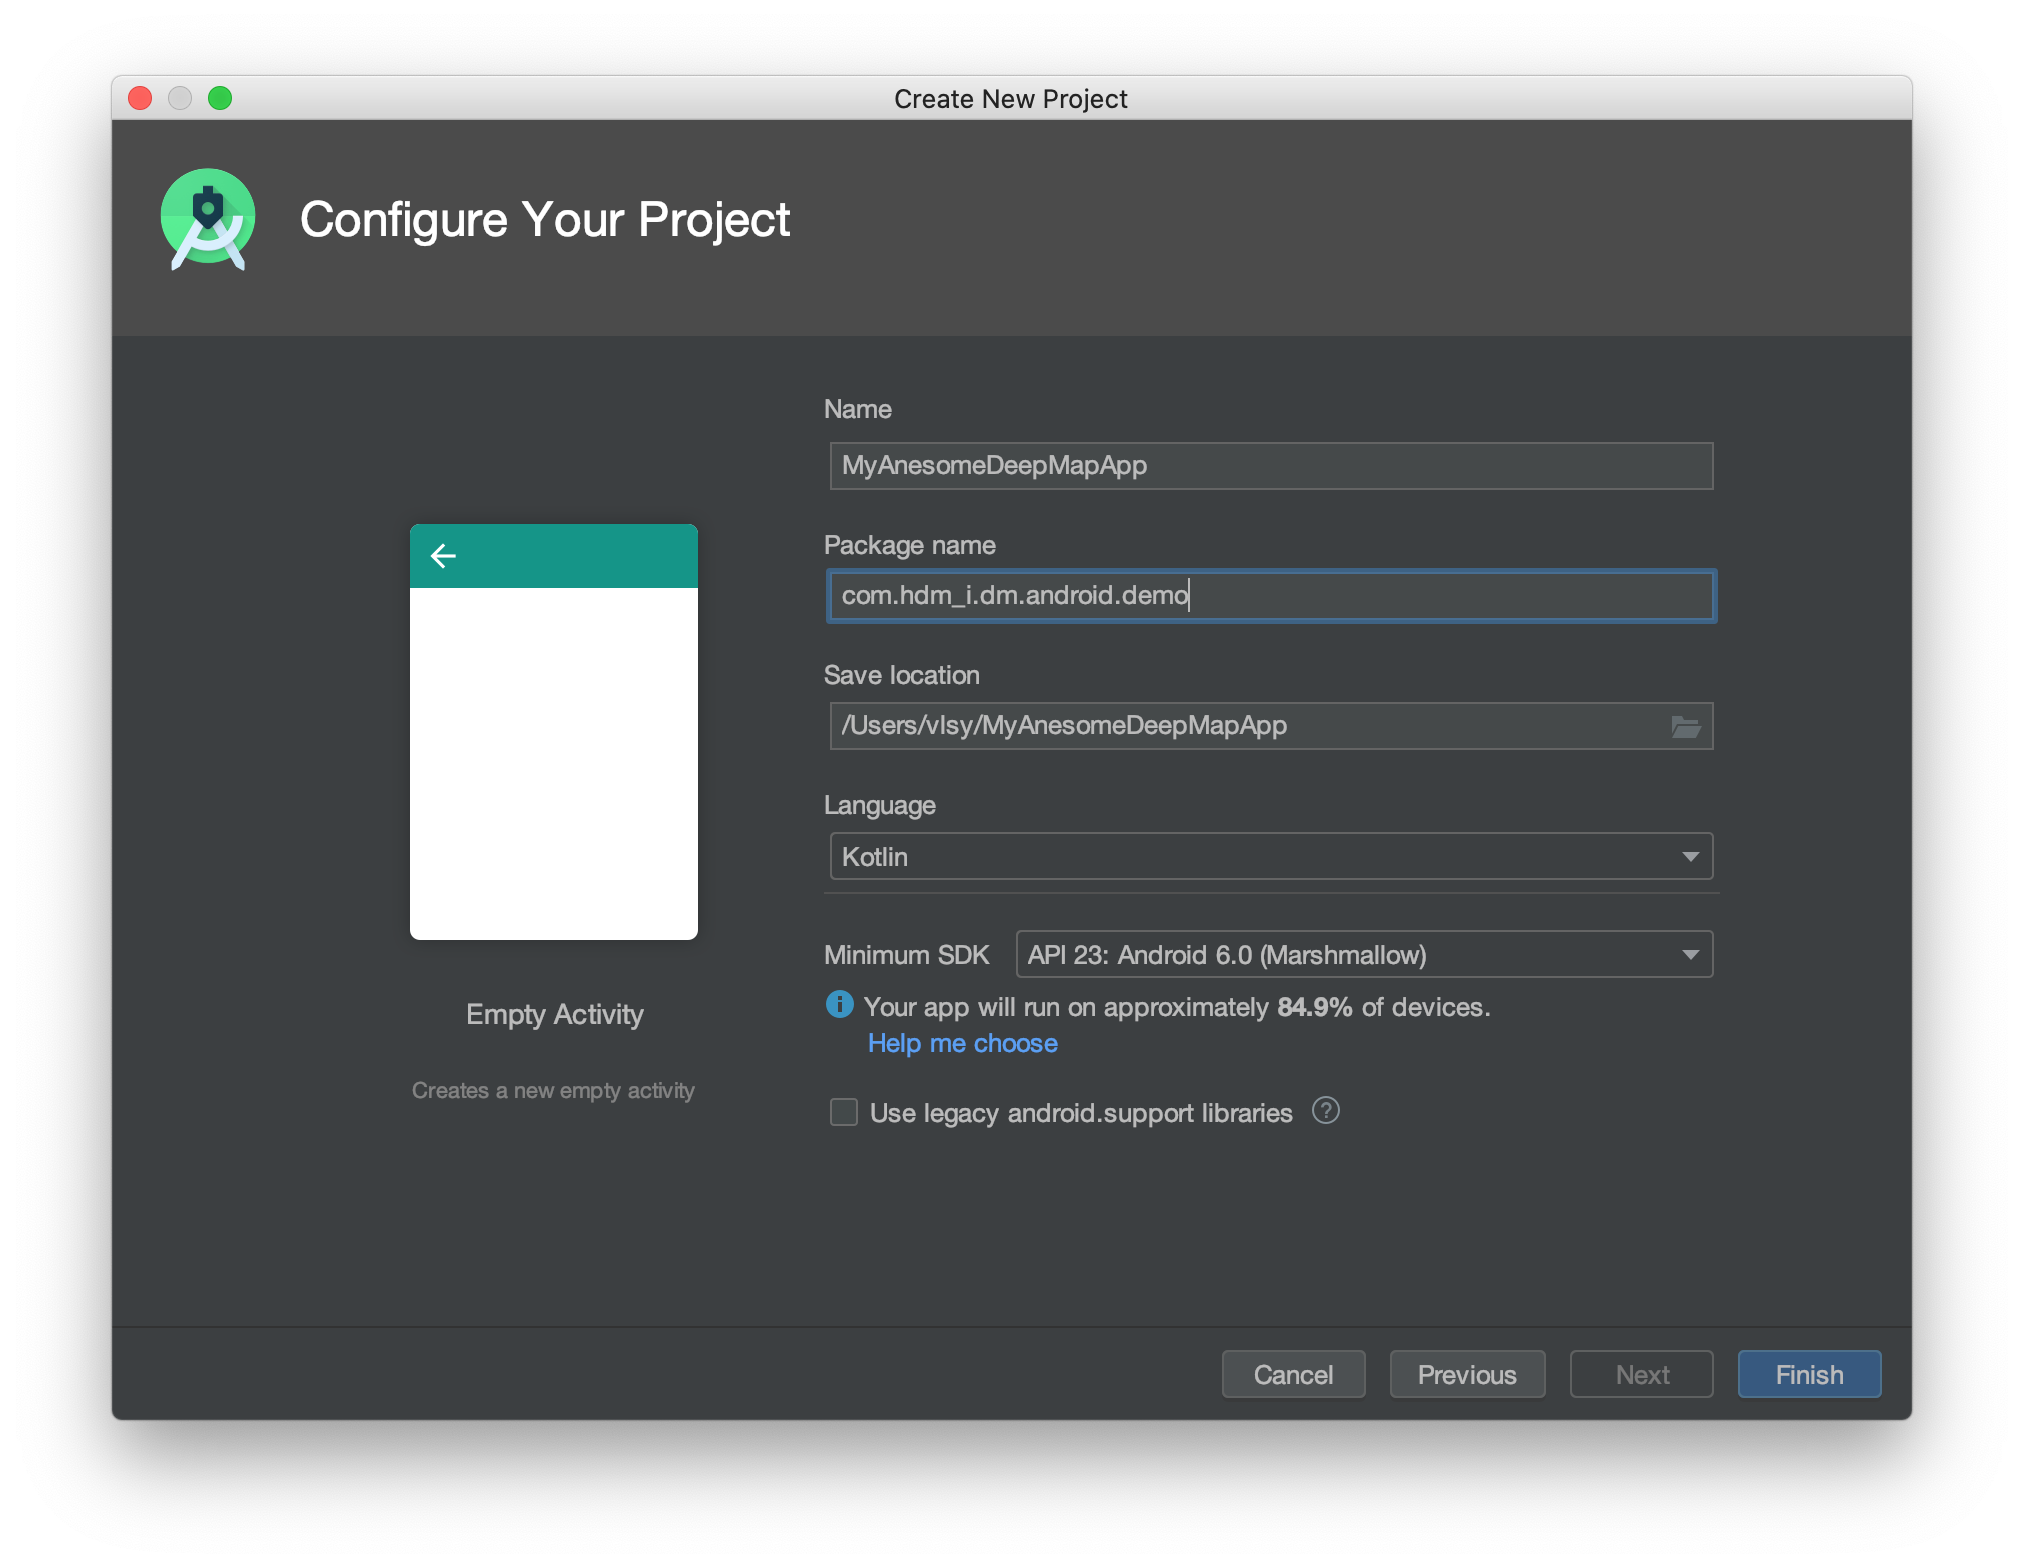
For the purpose of this tutorial, we will use a simple project with “Empty Activity” :
Note
You can use minimum SDK version 23 and up.
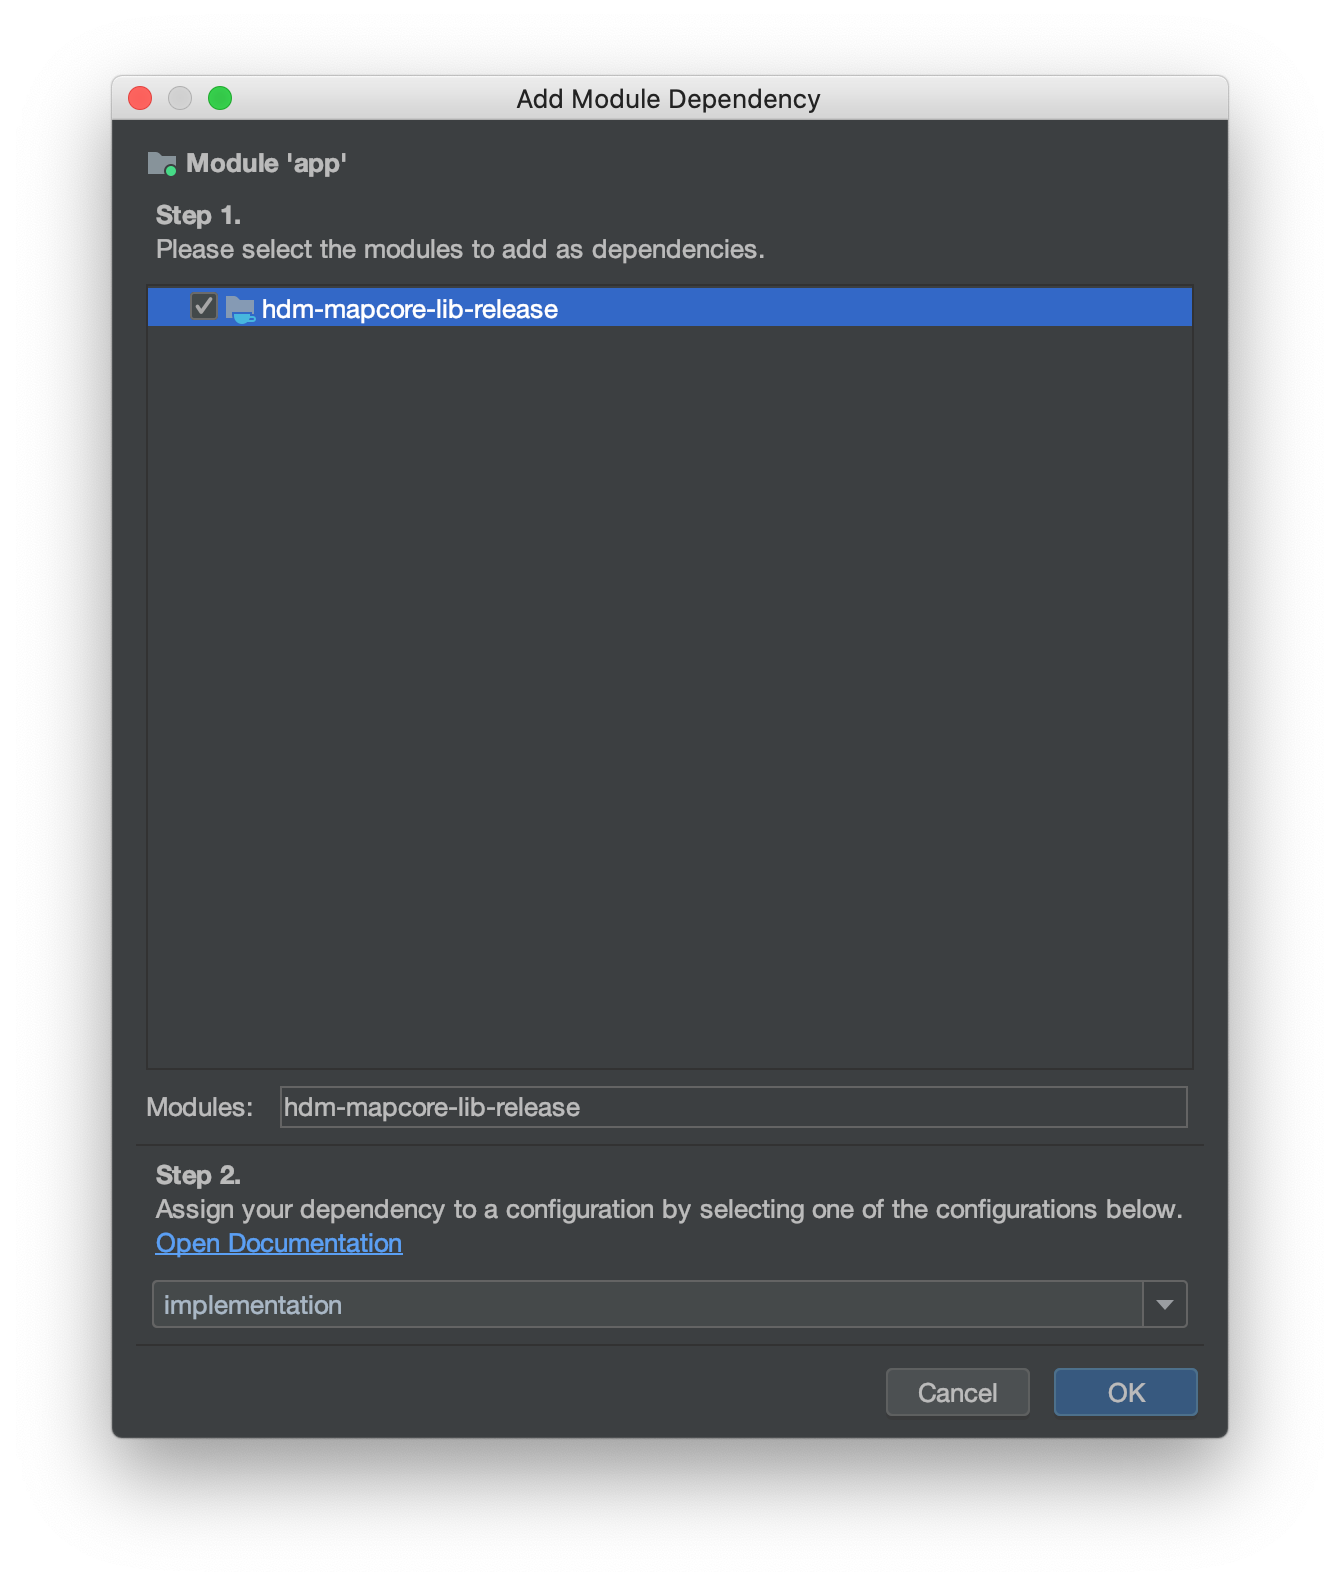
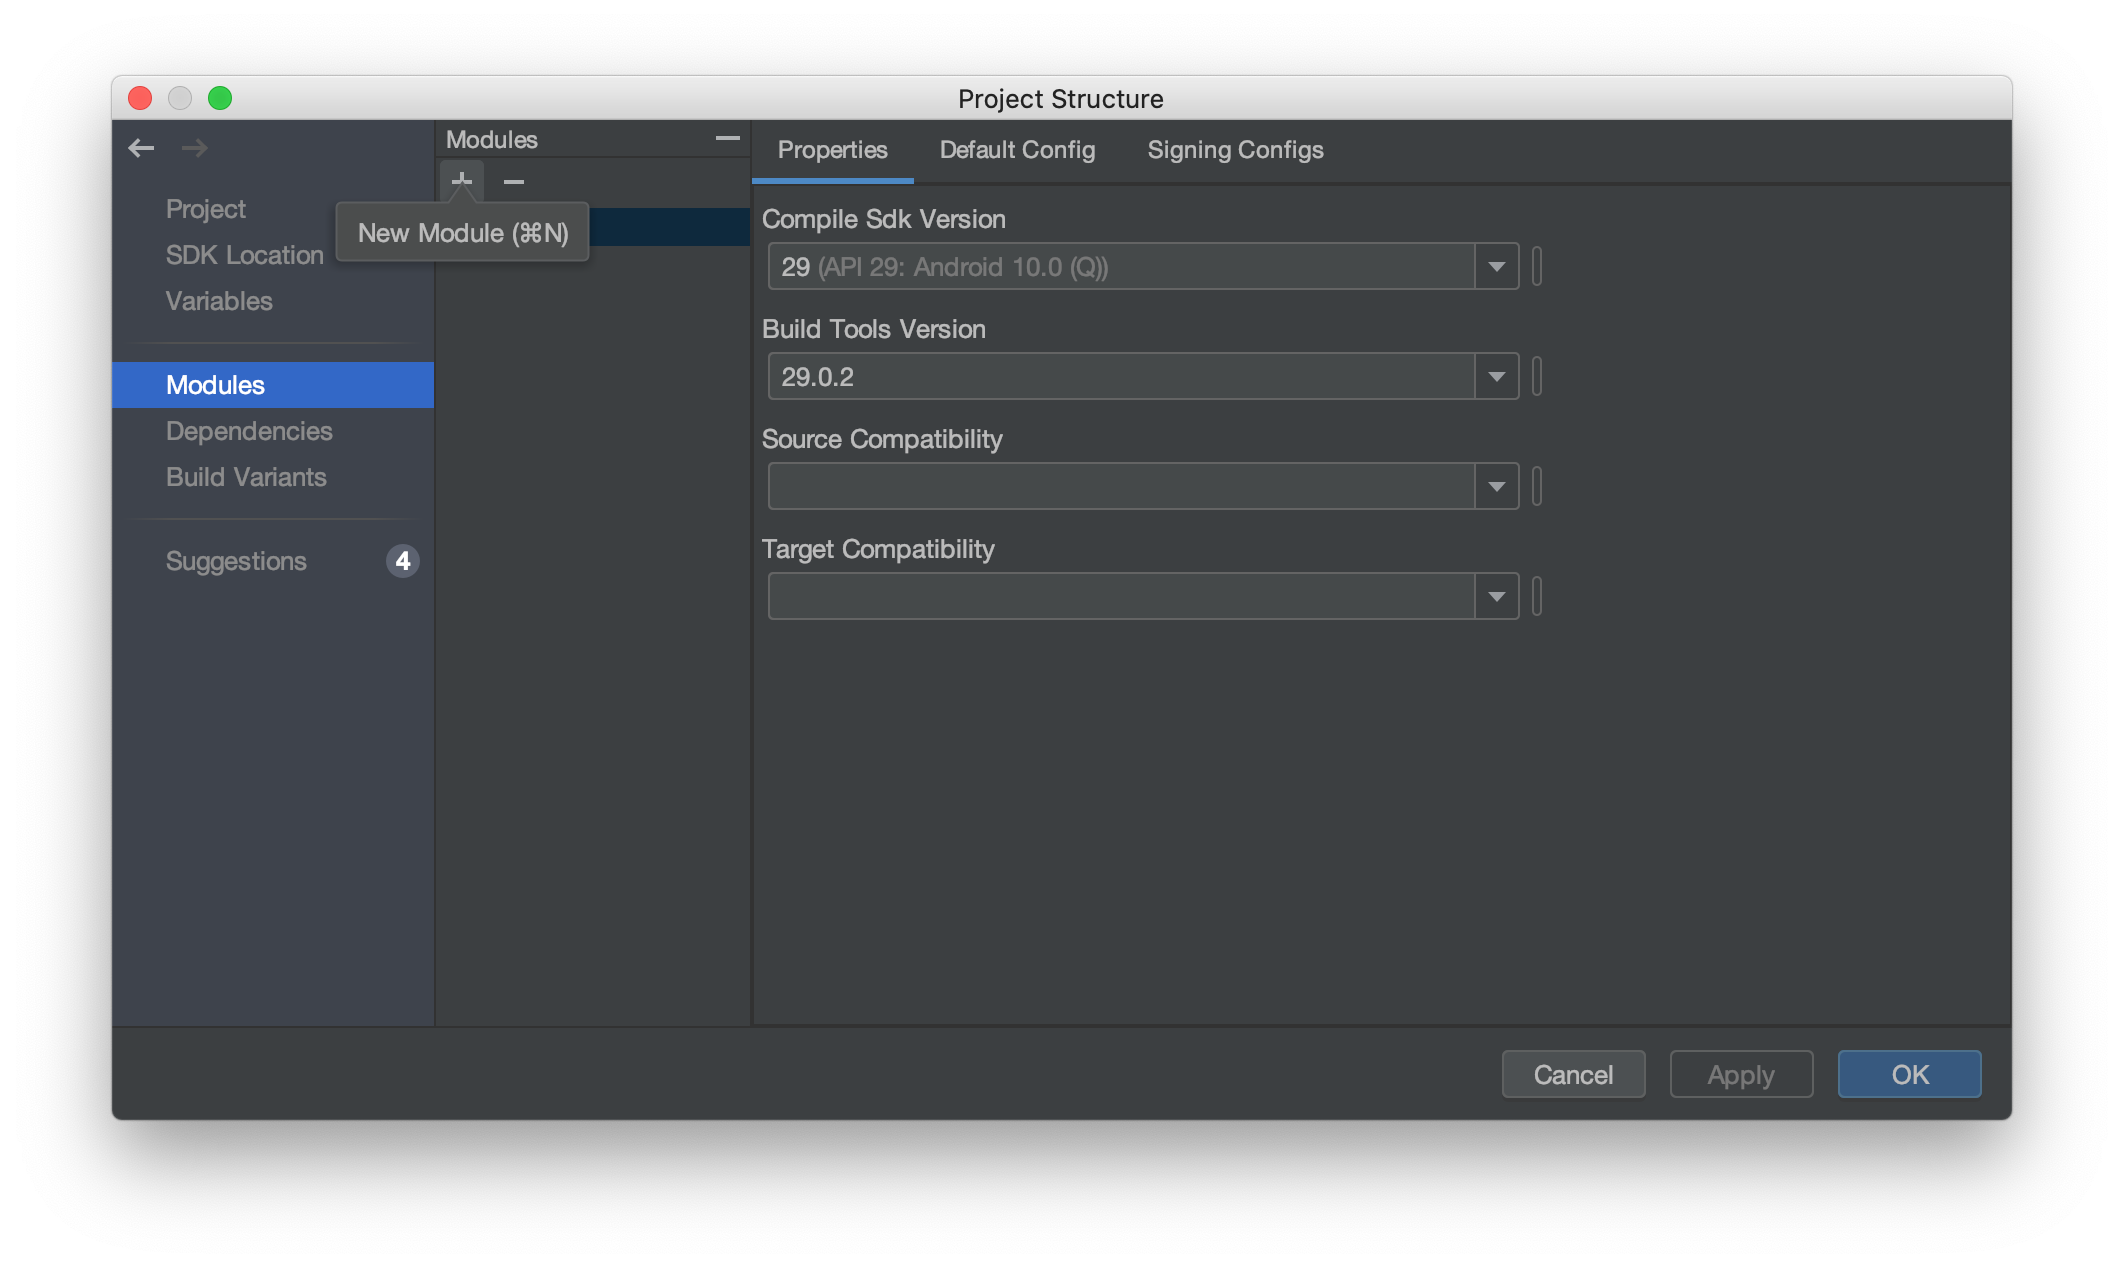
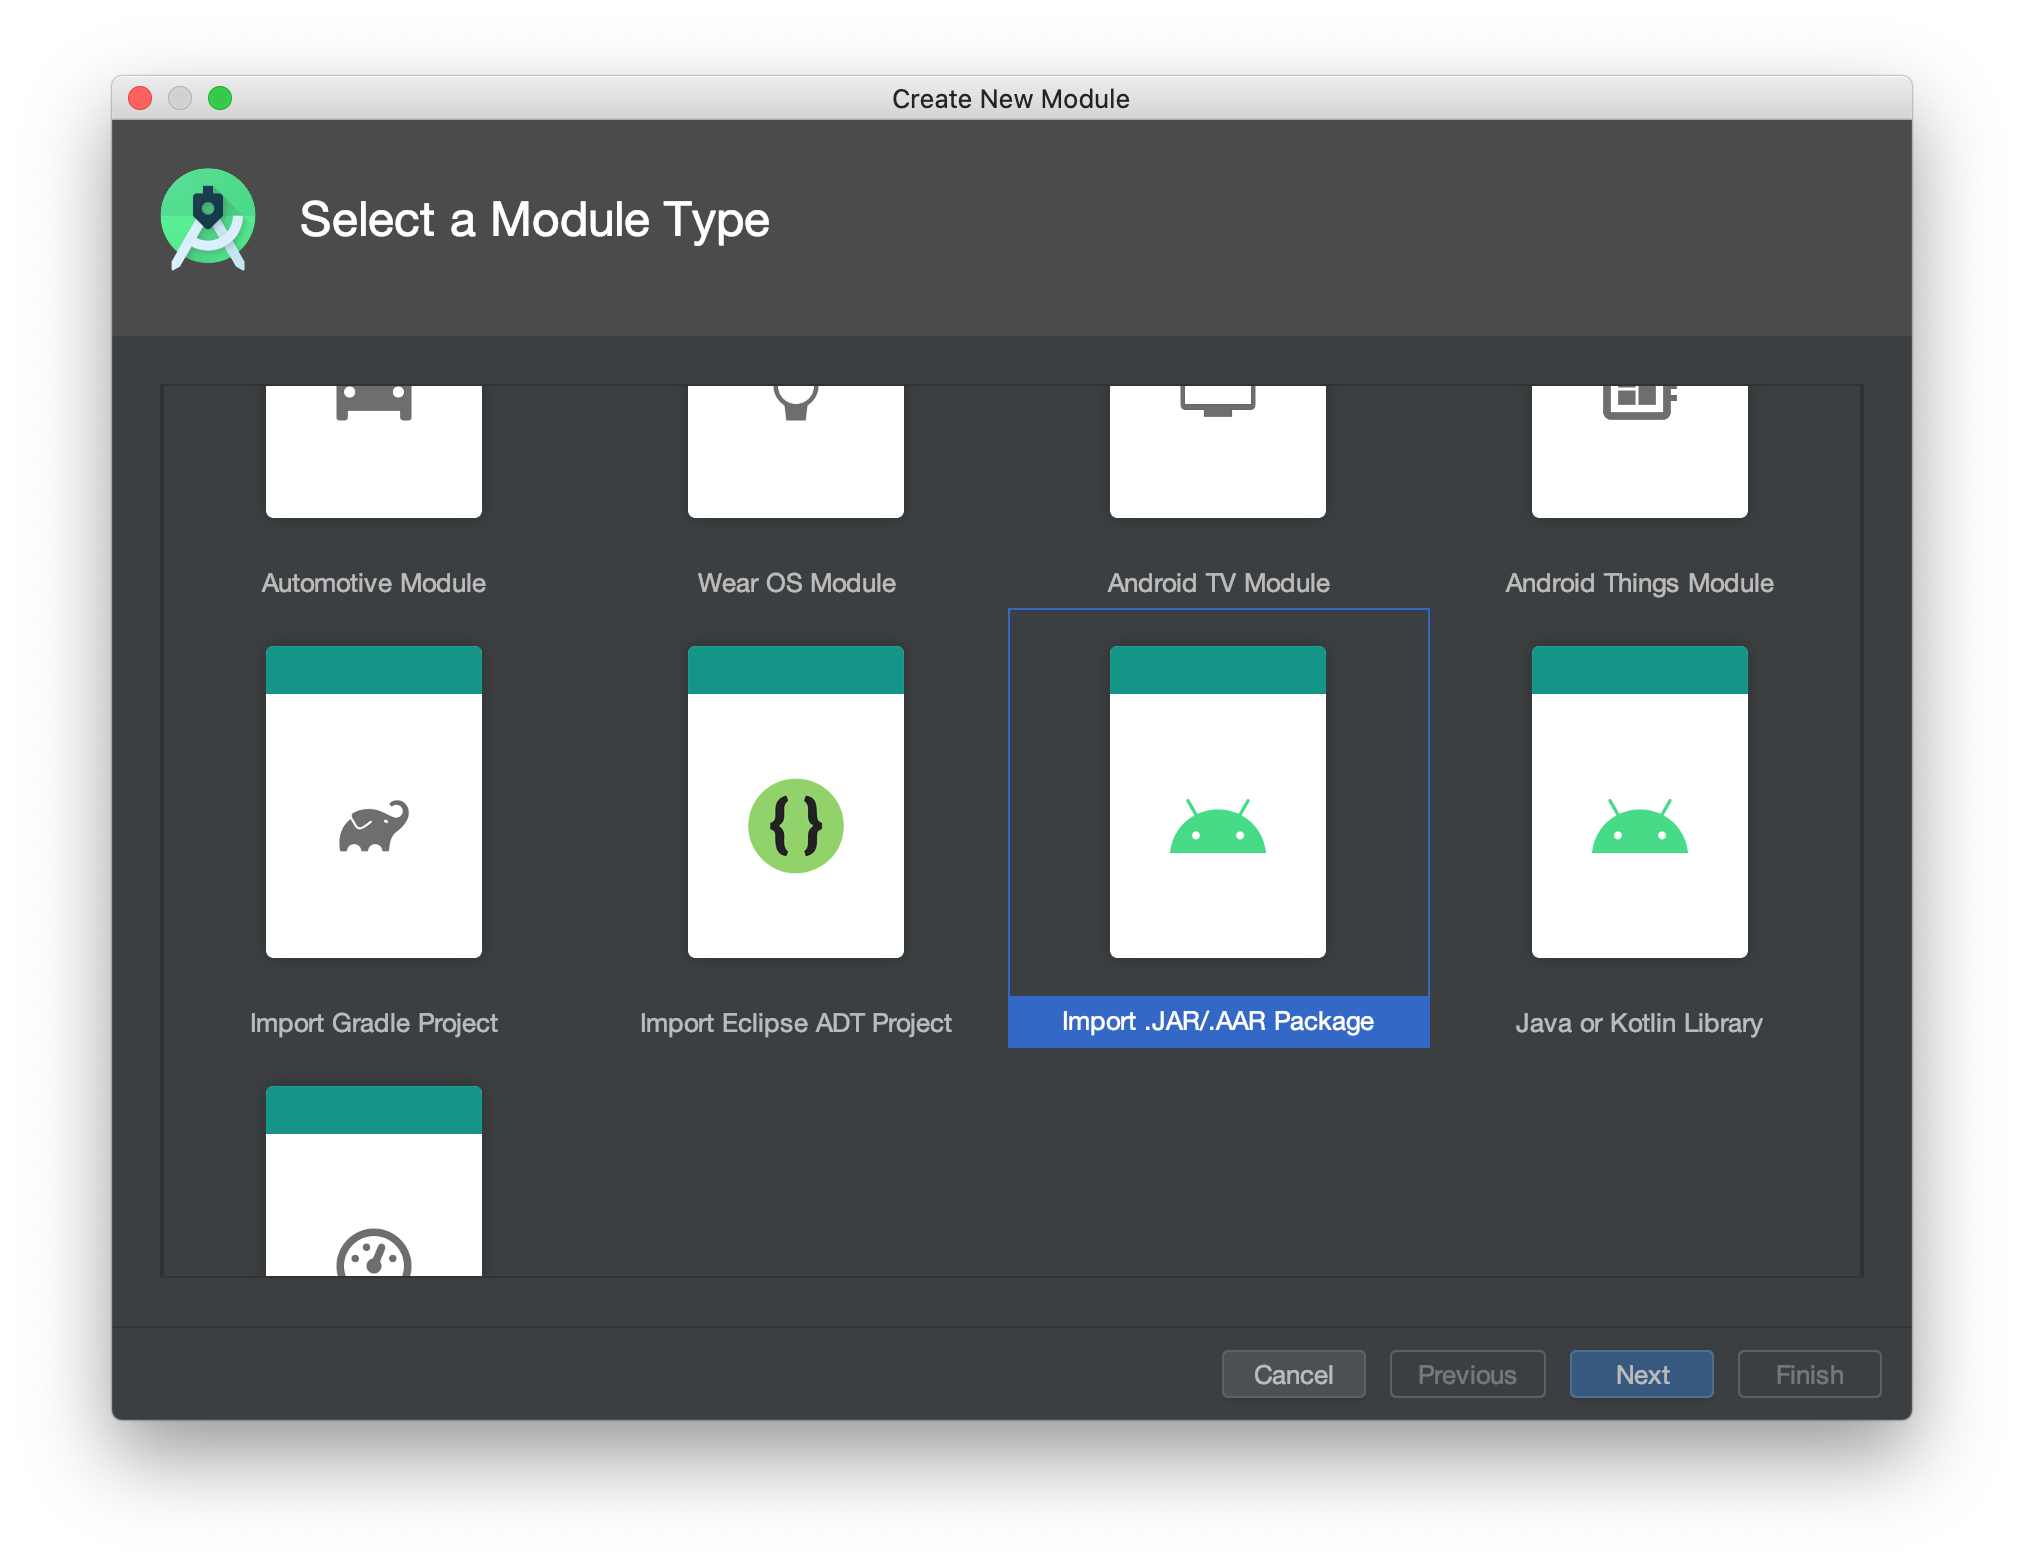
Add a new module to the project (File > Project Structure > ‘+’ in the top left corner) and select “Import .JAR/.AAR Package”. Find the file hdm-mapcore-lib.aar and add it as module. Press button Apply.
Next we add our library to the app by adding it to the Dependencies list of our app in the Project Structure window:
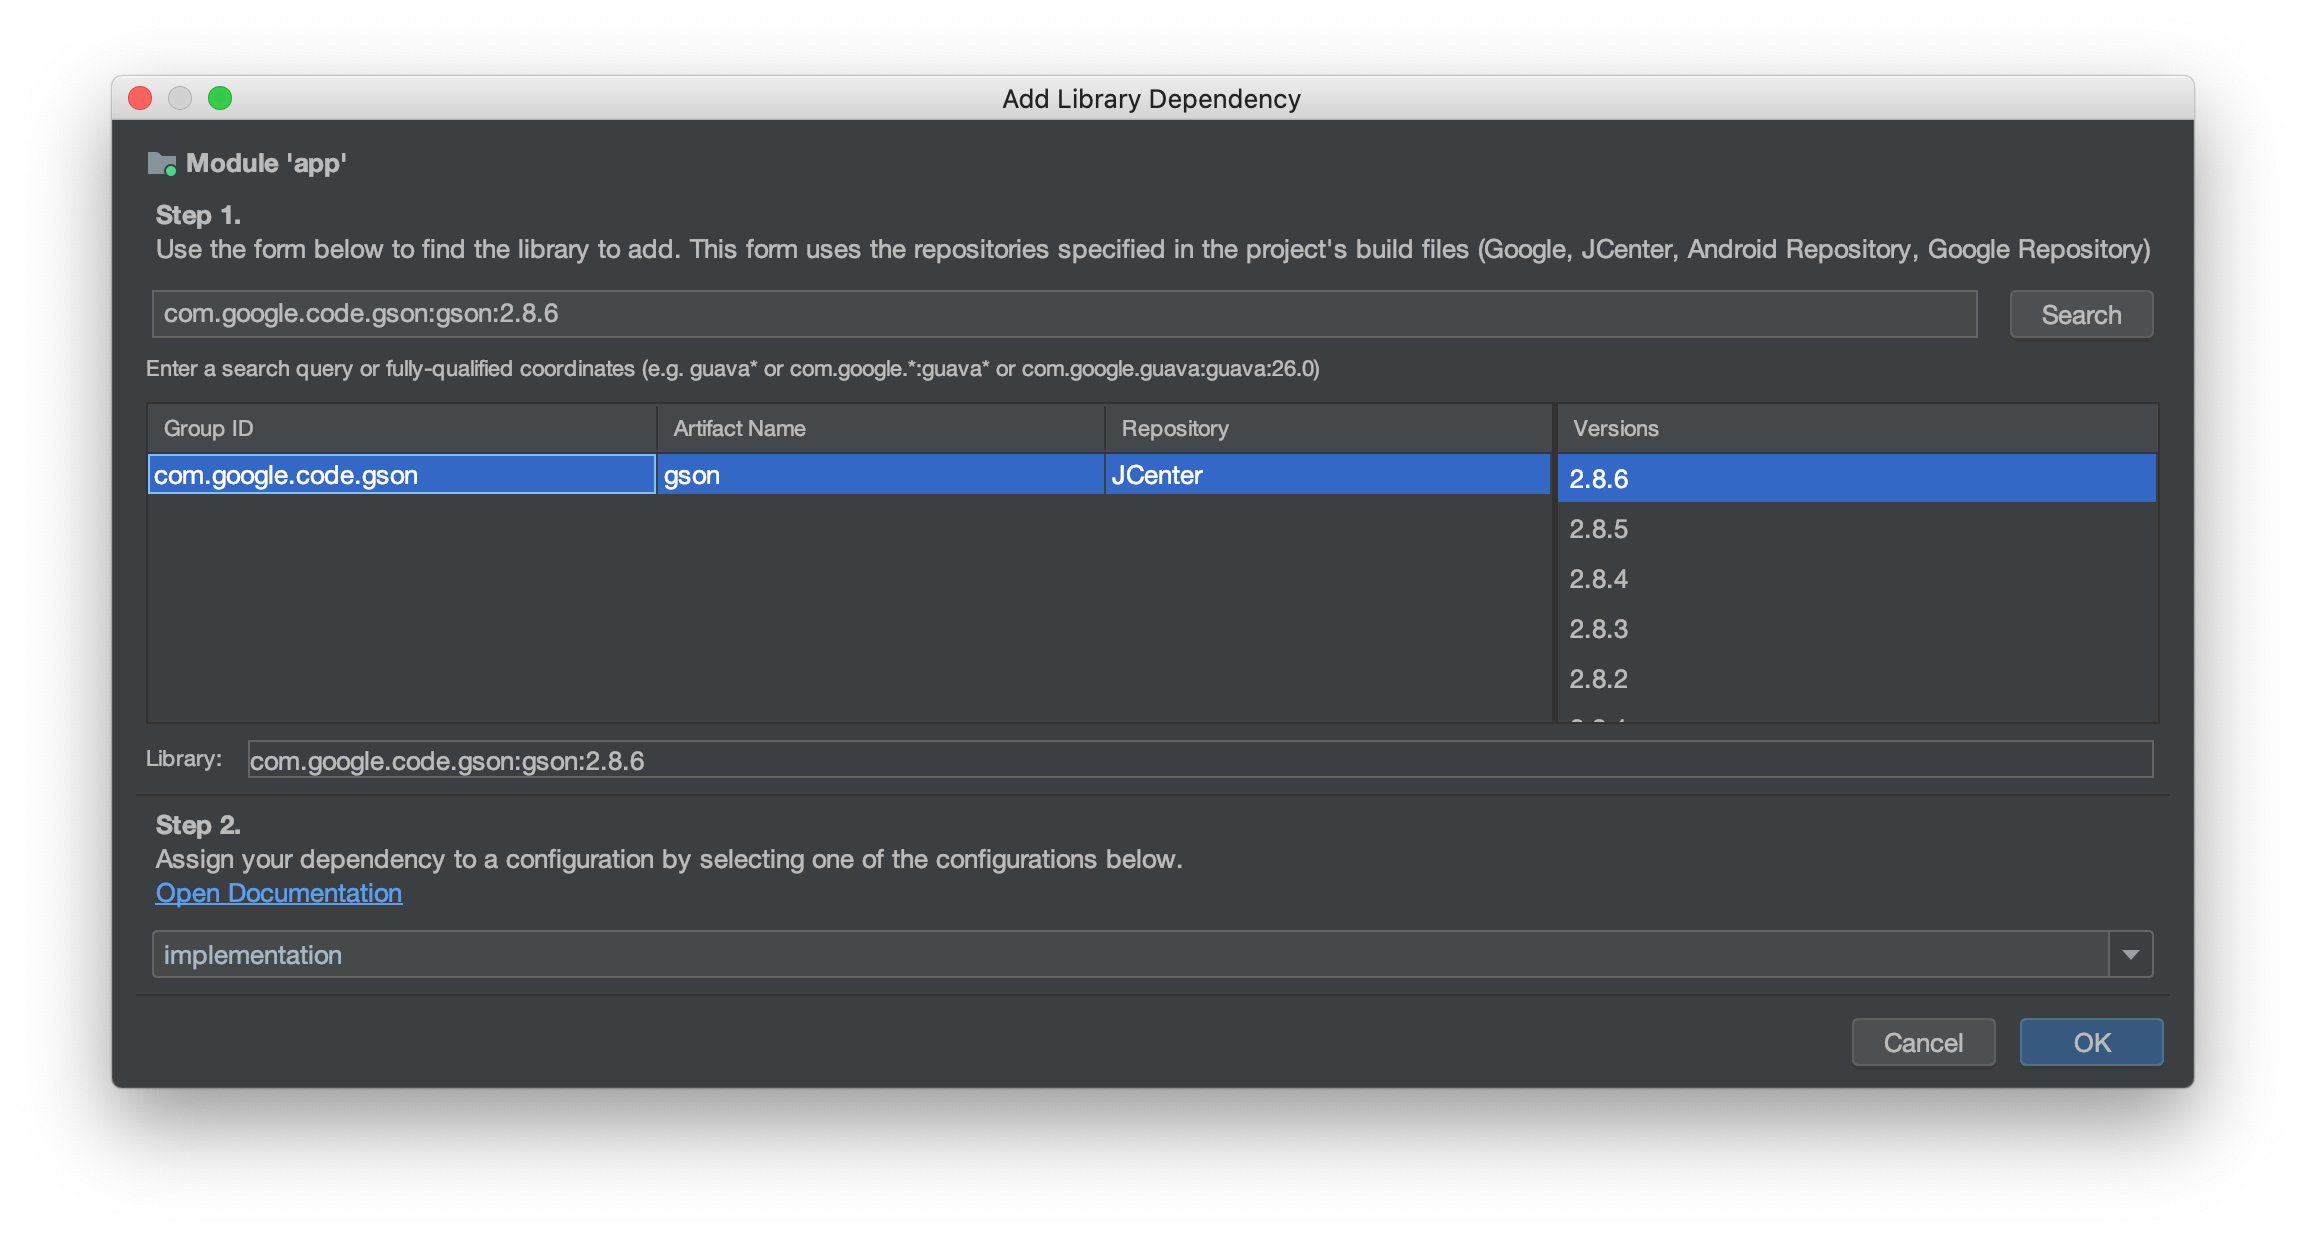
Unfortunately, including an AAR package does not include its dependencies automatically. To add those, open the build.gradle of your app and add the following dependencies:
Groovy
...
dependencies {
    ...
    implementation 'androidx.appcompat:appcompat:1.1.0'
    implementation 'androidx.legacy:legacy-support-v4:1.0.0'

    implementation 'com.google.code.gson:gson:2.8.6'
    implementation 'com.squareup.okhttp:okhttp:2.7.5'

    implementation project(path: ':hdm-mapcore-lib')
    ...
}
...
We also need to add our map file (DeepMap.zip) as a resource for our app. Just copy your DeepMap.zip to the assets folder in your project.
In order to show the map, a MapView must be set.
MainDeepmapActivity
Open the activities layout and add the MapFragment to layout:
Java
<fragment android:name="com.hdm_i.dm.android.mapsdk.MapFragment"
    android:id="@+id/deepmap_fragment"
    android:layout_width="match_parent"
    android:layout_height="match_parent" />
We also need add Application class into our project and register it in AndroidManifest.xml file
Java
<application
    android:name=".MapApplication"
    android:icon="@mipmap/ic_launcher"
    android:label="@string/app_name">
    ...
</application>
Open the class MapApplication.kt and add main line to init and correct work of MapSDK: MapSDK.init(MapApplication.this) in the method onCreate()
Java
import android.app.Application
import com.hdm_i.dm.android.MapSDK

class MapApplication: Application() {

    override fun onCreate() {
        super.onCreate()

        MapSDK.init(this)
    }
}
Then open the main activity MainDeepmapActivity.java. Again, to keep it simple for the scope of the tutorial, we just find MapFragment in layout and load the map data. All you have to do for that to work is the following:
Java
import com.hdm_i.dm.android.mapsdk.MapFragment;
import com.hdm_i.dm.android.mapsdk.MapView;

public class MainDeepmapActivity extends AppCompatActivity {

    @Override
    protected void onCreate(Bundle savedInstanceState) {
        super.onCreate(savedInstanceState);

        MapView mapview  = new MapView(getBaseContext());
        mapview.setTapDelegate(new MapView.TapDelegate() {
            @Override
            public void onSingleTap(List<Feature> list, MapCoordinate mapCoordinate) {...    }
            @Override
            public void onLongPress(List<Feature> list, MapCoordinate mapCoordinate) {...    }
        });

        mapview.setReadyDelegate(new MapView.ReadyDelegate() {
            @Override
            public void onReady() {...  }
        });

        setContentView(mapview);

        MapSDK.loadDeepMapAssets(getBaseContext());
    }
}
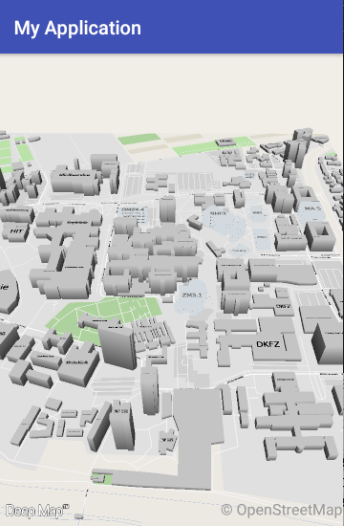
That’s it! Now start the app on your device or in the emulator, and you will be able to view our example map.
